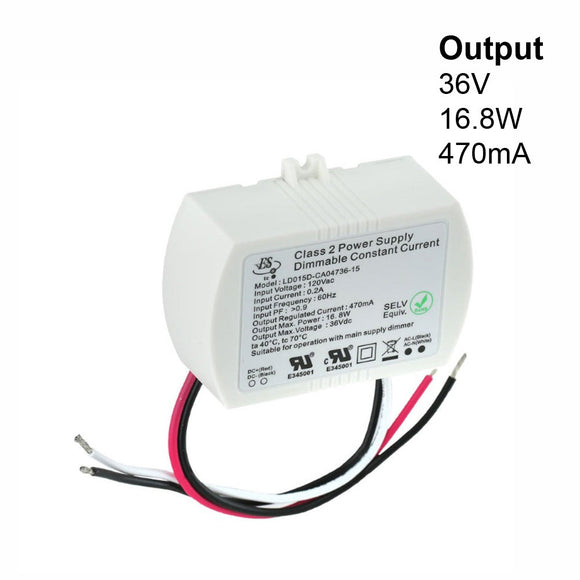
OTM-TD203500-1110-38 Constant Current LED Driver, 1110MA 24-36V 38W Dimmable

Product Description
| Product | Constant Current LED Driver |
| Model | OTM-TD203500-1110-38 |
| Input Voltage | 90-130V AC |
| Input Current | 0.9A |
| Input Frequency | 50-60Hz |
| Power Factor | PF>0.95 |
| Efficiency | >85% |
| Output Regulated Current | 1110mA |
| Output Power | 38W |
| Output Voltage | 24-36V DC |
| Dimmable | Yes (Triac Dimming) |
| Ambient Temperature (Ta) | 40°C |
| Case Temperature (Tc) | 90°C |
| IP Rating | IP20 (Indoor use only) |
| Dimensions | 107.18mm x 41.18mm x 22.83mm (4.2in x 1.62in x 0.875in) |
| Class Certification | Class 2 |
| Certification |
 |
The OTM-TD203500-1110-38 is a constant current LED driver designed to power LED lighting fixtures. It has an input voltage range of 90-130V AC and a power factor greater than 0.95, ensuring efficient power delivery. The input current is 0.9A, and the input frequency range is 50-60Hz.
The LED driver has an output regulated current of 1110mA and a maximum output power of 38W. The output voltage range is 24-36V DC, making it suitable for a wide range of LED lighting applications. It is also dimmable using Triac Dimming, providing flexibility in controlling the lighting output.
The LED driver has a high efficiency of over 85%, ensuring minimal energy wastage during operation. The ambient temperature (Ta) range is 40°C, while the case temperature (Tc) can reach up to 90°C. It has an IP20 rating, making it suitable for indoor use only.
Features:
- The OTM-TD203500-1110-38 is a constant current LED driver designed to power LED lighting fixtures.
- Input voltage range: 90-130V AC with a power factor greater than 0.95, ensuring efficient power delivery.
- Input current: 0.9A, and the input frequency range is 50-60Hz.
- Output regulated current: 1110mA with a maximum output power of 38W.
- Output voltage range: 24-36V DC, making it suitable for a wide range of LED lighting applications.
- Dimmable using Triac Dimming, providing flexibility in controlling the lighting output.
- High efficiency of over 85%, ensuring minimal energy wastage during operation.
- Ambient temperature (Ta) range: 40°C, while the case temperature (Tc) can reach up to 90°C.
- IP20 rating, making it suitable for indoor use only.
- Compact design with dimensions of 107.18mm x 41.18mm x 22.83mm (4.2in x 1.62in x 0.875in).
- Class 2 certified, indicating that it meets safety standards for use in low-voltage lighting applications.
How to Install OTM-TD203500-1110-38 Dimming Constant Current LED Driver?
- Ensure that the power is turned off.
- Verify the output current of both the light and the driver.
- Remove the caps on both sides and loosen the screws on the green terminals.
- Attach the AC wires to the terminals labeled Line (L) and Neutral (N).
- Connect the positive wire of the light to V+ and the negative wire to V-.